All things DIY
- Home
- About
- DIY Projects
- Room Tours
- Contact
- DIY Projects
- >
- DIY Planters
- >
- DIY Outdoor Planter
DIY Outdoor Planter

If you are a plant lover like myself, I’m sure you will love this next DIY. It is a great way to give a good home to
your plants and you can do it over the weekend!
For this project you will need:
- Wood Glue
- Handsaw to cut Wood and Handsaw to cut Metal
- Sand Paper
- Varnish or Wood Paint and Primer
- Paint Brushers or Roll
- Drill
- 1¼ Screws
- Flat Planks of Wood for the Sides
- Black Metal L Trim for the Legs
-
First Step: You need to decide the dimensions of the planter, so you know how many planks of wood are necessary for the sides then, with the handsaw, cut the pieces for each side, including the bottom.

-
Second Step: Use the sandpaper in all pieces to smooth out any rough spots.

-
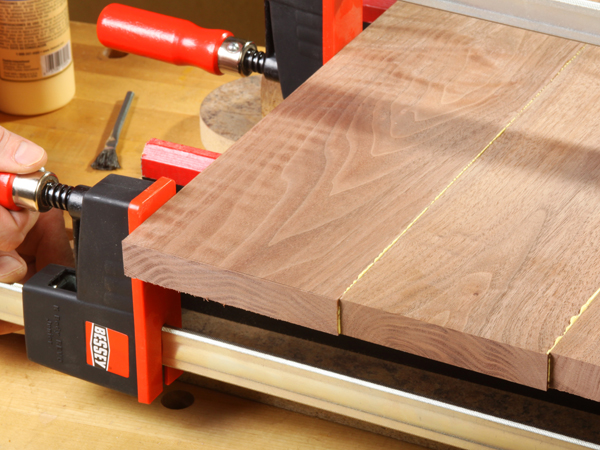
Third Step: Use the wood glue to glue all pieces and let it dry, at least 6 hours. Make sure they are glued tightly! (Tip: This can be done by using clamps or tape)

-
Forth Step: Cut the metal legs to the desired height.

-
Fifth Step: Now, for painting you can either paint with a wood paint primer as a base coat then paint at least two coats of exterior paint of your choosing or either, if you want to see the natural colour of the wood, use a clear varnish. (Tip: For a smooth finish, use sandpaper between coats)

-
Sixth Step: To assemble the pieces together, drill several holes in each corner of the planter and in the bottom piece and put the screws though it.

-
And Voilà! There you have a nice DIY Outdoor Planter 😄.
