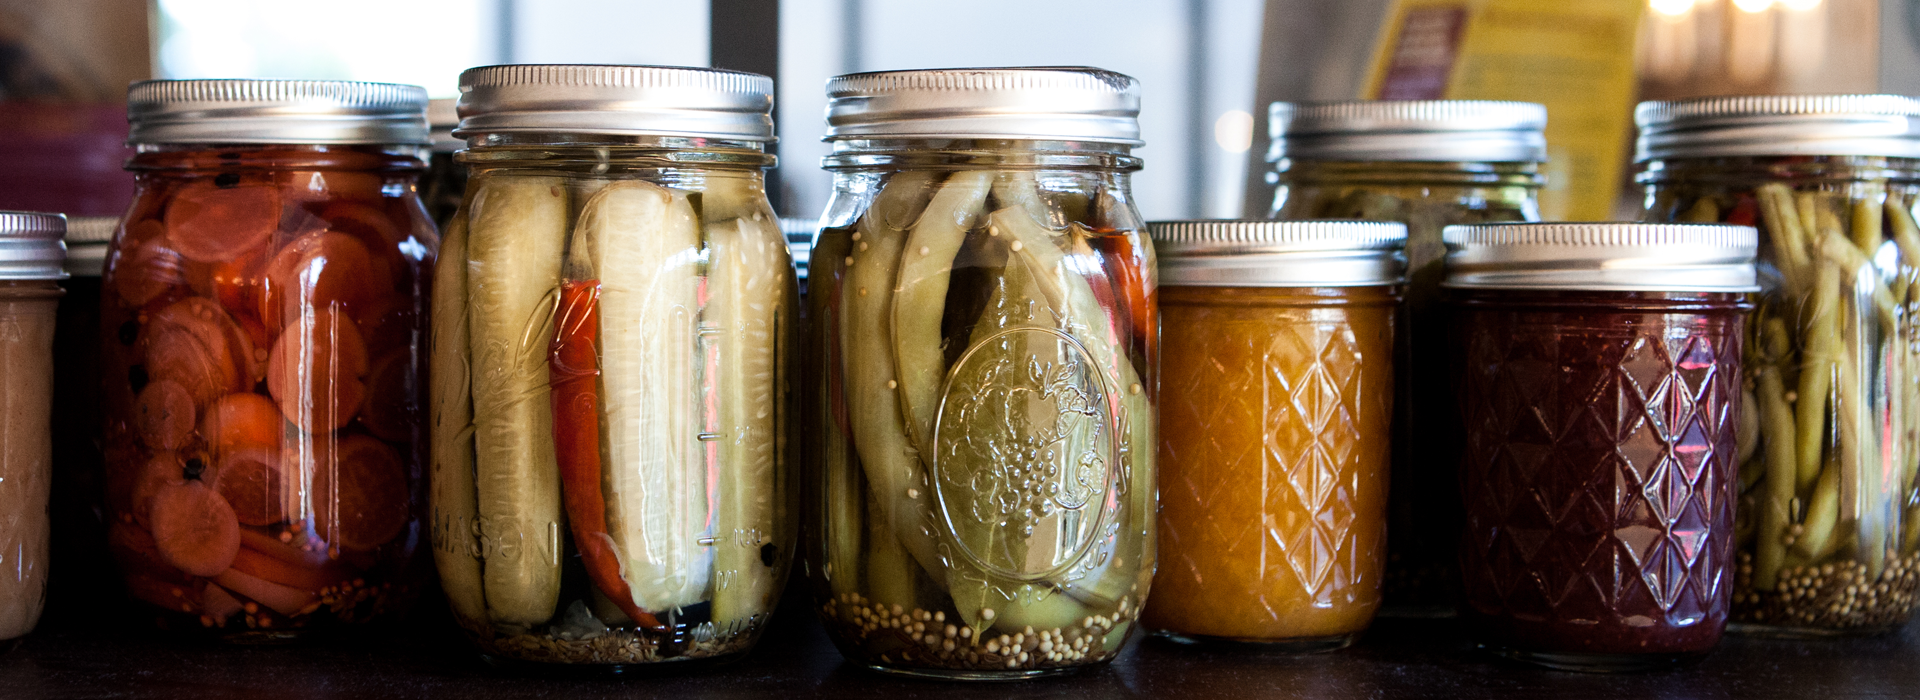
- Canning
- Pickling
- Fermenting

There are many ways to preserve your harvest! The most important thing
to remember is to choose things that you know will be sustainable for
you and your family. You don't want to try to perfect so many methods of
preservation that you end up not being able to establish one steady
method--thus becoming a "jack of all trades, master of none." Start slow
and find the joy in preserving your food!
Also, never be afraid to reach out to those around you--especially your
local farmers--when you need help, inspiration, or just someone to
bounce frustrations and ideas off of. Food preservation has, for a long
time, been a way to connect those in the community with the common goal
of feeding our families well throughout the year. It's a beautiful
thing!
There is nothing more frustrating when growing your own food than seeing
something you have toiled over end up spoiling before having the chance
to make use of it. So, let's take a look at a few ways you can get to
preserving your yield by using something that is very easy to find in
stores: glass jars.

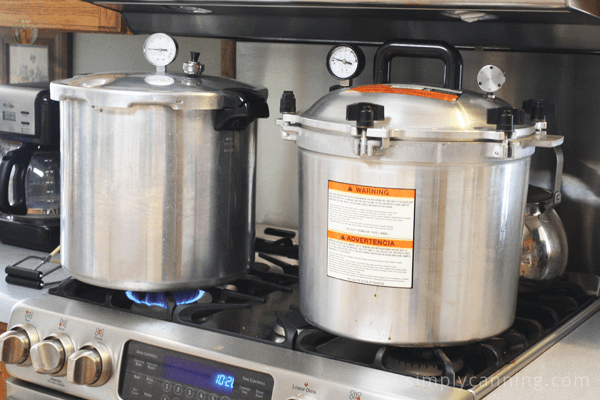
Pressure canning
uses
special equipment to process food at a higher temperature to prevent
spoilage. It is necessary to use pressure canning to preserve “low acid”
vegetables and foods. Many are intimidated by this form of food
preservation, but it is quite safe when done correctly. You'll need a
good pressure canner, which is definitely worth the investment! They
will last you a long time. You may have been gifted your great
grandmother's pressure canner, but it might be best to level up with a
newer version, as many of the older pressure canners are not up to
safety standards.
To know which foods need to be pressure canned, you will need to know if
your food is low acid or high acid. Foods with high acidity can be
preserved with waterbath canning, which we will look at next! If you are
dealing with a low acidity food, such as green beans, potatoes, meat,
canteloupe, and watermelon for an example, then you will need to break
out your pressure canner to safely preserve them for storage.
Pressure canning does not have to be intimidating! Just make
sure you read up on safety guidelines and ask around to see if you
already know some home canners, as they are usually worth their weight
in gold when it comes to knowledge!

Waterbath canning
is used for canning foods with high acid, such as tomatoes, berries, and
pickled vegetables. A large pot is used with a rack at the bottom to set
the jars on. The rack allows water to flow beneath the jars for even
heating, and usually has handles that allow you to lower and lift the
jars easily in and out of the water. You will follow a recipe that will
tell you how long your cans need to be processed in the boiiling water.
Smaller jars will be a little less time than the quart jars, so do check
the time difference so you can be accurate!
Once they have been in the water for long enough, you will use a
jar-lifter to get them out, set them on your counter on a towel or other
surface than can stand high heat, and let the jars sit. As they sit, you
will get to hear the sound that is music to a home canner's ears...the
special
ping! That is the sound of success. That is the sound of a can
that has properly sealed and is ready to be stored away!
Pickling
is another great way to preserve some of your harvest, or some foods you
can easily get at the store! Pickling is when you use a basic mixture of
salt, water, and vinegar to create a brine that the food will sit in.
You can pickle by natural fermentation, but we will talk more about
fermentation in the next section. Here I will mention three pickling
methods.
First is the salt-brined method, which is where you
salt the product before it is packed into the canning jar. The salt
makes the natural water come out of the produce, which creates a better
flavor for your final product. Rinse and drain the produce, pack it and
any extra spices into your canning jars, pour a vinegar-brine over them,
and then use the waterbath canning method to seal them up!
The vinegar-brine soak and rinse method is similiar to the salt-brined
method, but takes a longer amount of time due to soaking, drainig, and
soaking again using a vinegar solution.
The last method we'll talk about here is the "quick pickle." It is a
favorite because, as the name suggests, it's quick. You pack
your produce and spices into your canning jars, pour a vinegar-based
pickling brine into the jars (making sure your produce is completely
covered by the liquid), and then preserve the jars by waterbath canning.
You can also find recipes for refrigerator pickles, but those do not
last as long, as they are not canned. They are a delicious option to
keep in the refigerator for a quick snack or a salad topper!
If you want to try pickling,
here are some tried and true recipes
from Ball, an ever-trusted source by all home preservers.
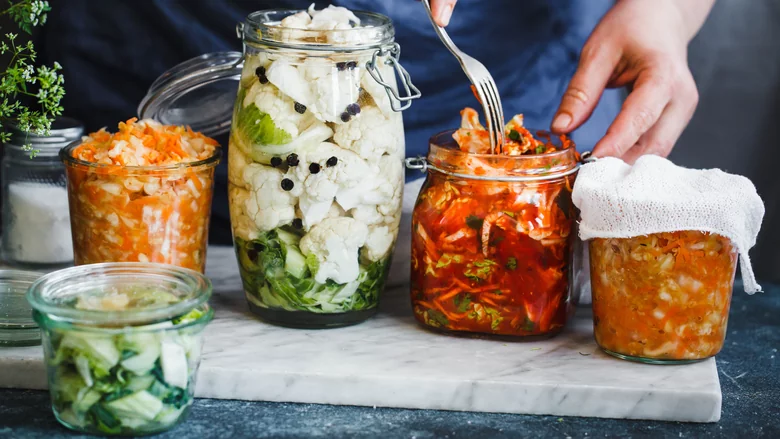
 Fermentation
is one of the funkiest ways to preserve food, as well as one of the most
hands-off ways, because you are literally letting beneficial bacteria do
all the heavy lifting for you. The good bacteria is actually called
lactobacillus, and it is created when you take your vegetables and cover
them with salt and their own juices, creating a brine for soaking.
The brine makes the bacteria very happy and encourages it to multiply,
and then it breaks down the salt and creates lactic acid. This acid is
what produces the tangy flavor we first notice in fermented foods, and
that is also what keeps the environment safe from the growth of bacteria
that could cause illness (and even death--which is why safe fermenting
practices are important to learn).
The first things that one
typically thinks of when one hears "fermented foods" are sauerkraut,
pickles, and kombucha...but there are so many more good fermented foods
to explore! Take
a look at some recipes
fermentation. Fermented foods are not only delicious, but are especially
beneficial for your gut health. All the good bacteria that are housed in
the fermented food go into your stomach and help maintain a healthy
balance of flora!
Coded by Stephanie Brady